Understanding Finish Trim: Types and Styles for Every Space
Finish trim plays a pivotal role in elevating the aesthetic appeal and functional integrity of interior spaces. It encompasses a variety of mouldings and moldings designed to provide smooth transitions, elegant accents, and refined detailing along walls, ceilings, doors, and floors. Whether you’re renovating a contemporary home or restoring a classical estate, selecting and installing the right type of finish trim is essential for achieving a polished look that reflects your style and meets your durability needs. To ensure your project stands out, it’s critical to understand the different types of finish trim, their applications, and the latest trends in materials and styles. This comprehensive guide will walk you through every step, from choosing the right trim to mastering professional installation techniques, and finally, maintaining your finish trim for long-lasting beauty.
For those looking to explore more on this topic or seek expert assistance, visiting trusted sources like Finish trim can provide valuable insights and personalized services tailored to your home improvement projects.
Common Types of Finish Trim and Their Applications
Finish trim encompasses a broad spectrum of mouldings, each designed to serve specific aesthetic and functional roles within a space. Recognizing these types assists homeowners and contractors in selecting the most suitable options for their design intent and environment.
Baseboards
Baseboards are the final contour at the junction of the wall and floor. They protect walls from scuffs and kicks while adding visual interest. Available in various heights and profiles, baseboards can be simple or ornate, depending on the style of the room. Modern designs often favor sleek, minimalist profiles, while traditional homes may opt for intricate, detailed mouldings.
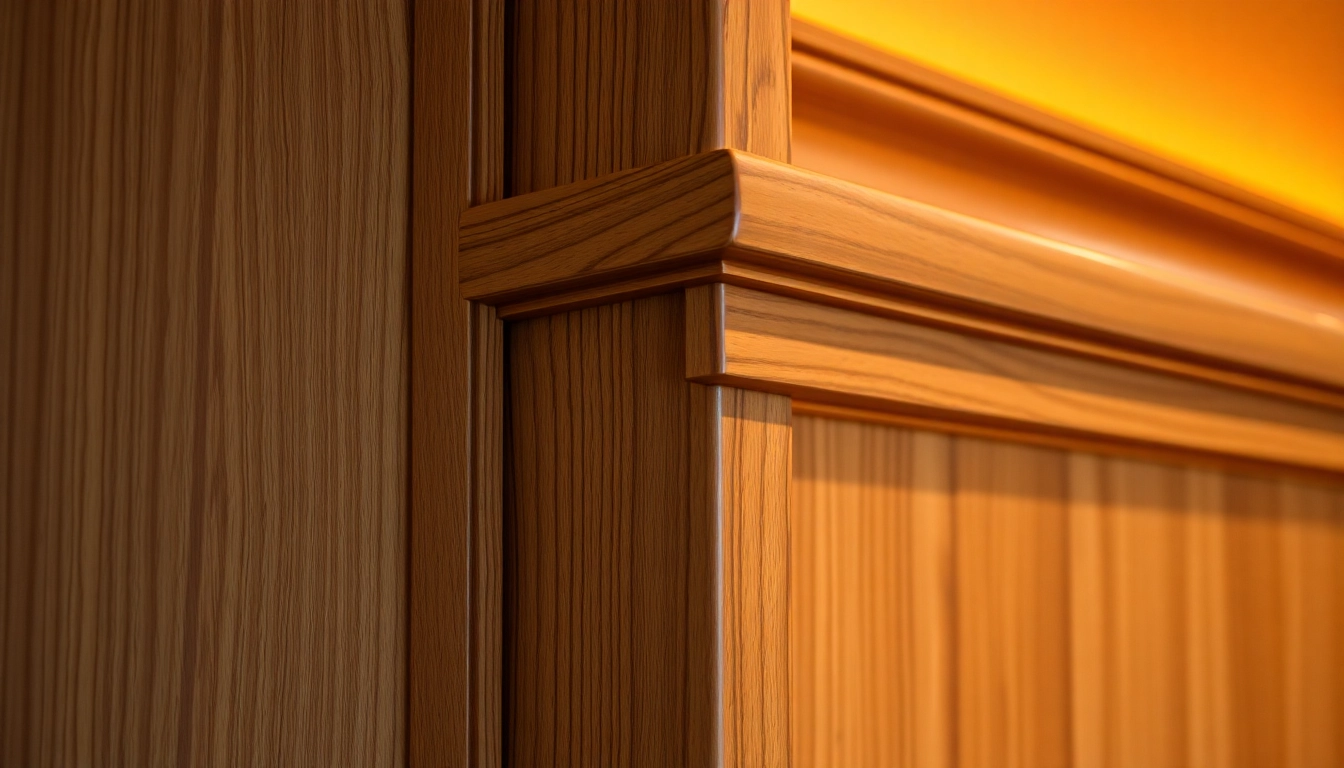
Crown Molding
Crown molding sits at the junction where walls meet ceilings, creating a seamless transition that enhances vertical space and adds architectural elegance. It varies from simple, understated designs to elaborate, decorative patterns with intricate carvings. Crown molding is widely used in formal living rooms, dining areas, and upscale bedrooms.
Casing and Door/Window Trim
Casing provides a finished border around doors and windows, hiding gaps and framing these openings beautifully. It ranges from narrow, clean lines to wide, highly decorative styles. Proper casing adds charm and can dramatically influence the overall interior style, whether modern or classic.
Quarter Round and Shoe Moulding
These small, curved moldings are used to cover gaps between baseboards and flooring or to add a finishing touch to the edge of flooring materials like tile or hardwood. They are essential for achieving a seamless transition and protecting the edges from damage.
Other Decorative Moldings
Additional trim options include chair rails, picture rails, and decorative panels, often used to add character and detail to individual rooms. These elements can either be functional or purely aesthetic, depending on design goals.
Choosing the Right Finish Trim Style for Your Home
Selecting the appropriate trim style involves considering the architectural style, room function, and personal taste. Here are essential factors to guide your decision-making process.
Match with Architectural Style
Traditional homes benefit from elaborate crown mouldings and detailed baseboards, while modern principles favor simpler profiles. For historic restorations, period-appropriate styles maintain authenticity; contemporary renovations often embrace minimalist lines.
Room Functionality
High-traffic areas like hallways and kitchens require durable, easy-to-clean materials. Bedrooms and living rooms, in contrast, can incorporate more ornate or softer finishes to enhance comfort and aesthetic appeal.
Material Selection
Wood remains the most popular choice for finish trim due to its versatility and natural beauty, with options like oak, pine, maple, and more. Alternatively, composite materials like MDF provide cost-effective, paint-ready solutions, while PVC trims are ideal for moisture-prone environments like bathrooms and basements.
Durability and Maintenance
Consider the environment—areas subject to humidity or moisture demand water-resistant trims. Regular cleaning, timely touch-ups, and protective finishes preserve the integrity of your finish trim, extending its lifespan significantly.
Latest Trends in Finish Trim Design and Materials
The realm of finish trim is continually evolving, influenced by modern design trends, innovative materials, and sustainable practices. Staying current helps you select options that enhance your home’s value and aesthetic appeal.
Trends in Design
Minimalism remains dominant, with flush, simple profiles that blend seamlessly into walls, providing a clean and uncluttered look. However, statement mouldings with bold profiles and intricate details are making a comeback in high-end and eclectic interiors. Mixed-material trims, combining wood with metals or acrylic accents, create unique visual textures.
Materials Advancing the Industry
Engineered wood products like MDF and other composite materials are gaining popularity for their cost-effectiveness, stability, and ease of painting. PVC and vinyl trim options are also expanding due to their resistance to moisture and pests, suitable for outdoor or humid settings.
Sustainable and Eco-Friendly Options
Manufacturers are producing trims from recycled materials and sustainably sourced wood, aligning with green building practices. Low-VOC paints and finishes further contribute to healthier indoor environments.
Preparing for a Perfect Finish Trim Installation
Successful finish carpentry hinges on meticulous preparation, correct tools, and measured execution. Proper planning ensures that your finished project looks flawless and stands the test of time.
Tools and Materials Needed for Superior Results
Key tools include saws (miter, circular, or chop saw), measuring tape, level, carpenter’s square, nail guns or hammers, caulking guns, sanding blocks, and painter’s supplies. Quality materials are equally important: pre-primed or paint-ready trim, adhesive or glue, finishing nails, and appropriate filler and caulk.
Measuring and Cutting Techniques for Precision
Accurate measurements are the foundation of a seamless fit. Measure twice, cut once, and utilize templates for repetitive or complex cuts. Miter cuts at 45° angles are standard for corners, but consideration should be given to wall imperfections that may require adjustments.
Utilize a miter saw for clean, precise angles, and ensure all pieces are dry-fit before fastening to make any necessary adjustments.
Step-by-Step Installation Best Practices
- Preparation: Clear the workspace, and verify measurements on your cut pieces.
- Placement: Start with the longest walls, ensuring continuity and symmetry.
- Fastening: Use finishing nails or a nail gun, anchoring the trim securely into framing or drywall.
- Seam Treatment: Fill gaps and nail holes with putty or wood filler, then sand smooth.
- Finishing Touches: Caulk edges for a seamless appearance, then prime and paint as desired.
Achieving a High-Quality Finish on Trim
The aesthetic success of finish trim depends heavily on surface preparation and the finishing process. Attention to detail in these stages results in a professional-looking and durable outcome.
Surface Preparation for Seamless Paint and Stain Application
Start by sanding all trim surfaces to smooth out rough edges and remove globs of paint or excess adhesive. Use fine-grit sandpaper, and ensure corners and detailed areas are adequately smoothed. Clean all dust and debris thoroughly to promote adhesion of paint or stain.
Choosing Finishes and Paints for Durability and Shine
Select high-quality paints or stains suited for trim, considering sheen levels: satin, semi-gloss, or gloss finishes are preferred for their durability and ease of cleaning. Oil-based paints create durable, hard surfaces with superior stain resistance, while water-based latex paints offer easier cleanup and lower VOC emissions.
Sanding and Finishing to a Professional Look
Apply multiple thin coats of paint or stain, allowing adequate drying time between layers. Light sanding between coats with a fine-grit paper enhances smoothness and adhesion. For a truly professional finish, masking edges and using quality brushes or spray equipment can prevent drips and uneven coverage.
Maintaining and Enhancing Your Finish Trim
To preserve the beauty and functionality of your finish trim, routine maintenance and strategic touch-ups are vital. Additionally, understanding when to refinish or replace can prolong your interior’s elegance.
Cleaning and Touch-Up Techniques to Preserve Appearance
Regularly dust and clean trim with soft cloths and mild cleaning solutions. For scuffs or minor damages, lightly sanding spots before repainting or retouching areas minimizes the need for full repainting. Keep spare paint or stain on hand for quick repairs.
When and How to Refinish or Replace Trim
If trim becomes warped, cracked, or heavily stained despite maintenance, removal and replacement may be necessary. Carefully remove damaged sections, re-measure, and install new trim following the proven procedures above. Refinish old trim with stripping and repainting only if structural integrity is intact.
Integrating Finish Trim with Overall Interior Design
Achieve visual harmony by coordinating trim profiles and finishes with other interior elements such as flooring, cabinetry, and wall colors. Custom painting or staining allows you to match or contrast trim for specific stylistic effects, from understated elegance to bold statements.
Common Challenges and Expert Solutions in Finish Trim Projects
Finish carpentry, despite its precision, presents challenges that can compromise aesthetic appeal if not addressed methodically. Recognizing these issues and applying best practices ensures flawless results.
Dealing with Imperfections and Gaps
Gaps or uneven joints can mar the clean look of trim. Use high-quality caulks matching your paint color for seamless concealment. For larger gaps, apply backer rods or spacers before caulking. Proper sanding and filling are key to avoiding visible imperfections.
Preventing Warping and Damage Over Time
Choose moisture-resistant materials for high-humidity areas, and store trim properly before installation to prevent warping. Applying sealants or protective finishes enhances resistance to moisture, pests, and temperature fluctuations.
Learning from Professional Finish Carpentry Mistakes
Common errors include rushing measurements, uneven cuts, or improper nailing. Practice careful measurement, matching angles precisely, and ensuring supports are level. Consulting with seasoned carpenters or reviewing instructional videos enhances skill and avoids costly mistakes.